Saturday, September 27, 2014

Kueh Kosui

27.09.2014 - Nongsa, Batam.  Kueh Kosui is one my all time favourite kueh since i was a kid.  Have never tried making it but i have intention to try since i bought some little cups for kosui.  At first, when i was searching recipes, i thought of making kosui without alkaline water, because i could't find it everywhere.  Surprisingly, just today, happened that i saw it at the meat section...(lol..) and the packaging was so small, just happened that i read the word and found out that it said  "kapar sirih/ alkaline water ) i was so excited and immediately went home to make kosui!

This recipe was adapted from Kenneth Goh recipe kosui-or-kuih-ko-swee   Glad to pick Kenneth recipe for my first attempt, the quantity just right for my small family of 3.  Its easy and so quick to prepare.

My kosui turned out to be so delicious, springy, soft and just perfect for my afternoon coffee.  What a great experience for the first time making with great success.  I will sure be making this again and again.


Ingredients:- 
prepare 20 small cups 
( I managed only 17 1/2 cups of kosui )

50 grams of rice flour (粘米粉)
50 grams of tapioca flour (木薯粉)
450 grams of lukewarm water (温水)
80 grams of gula melaka or gula apong (椰糖或其他棕榈糖)
20 grams of white sugar (白糖)
1 teaspoon of alkaline water or lye water or kansui(碱水)

Coconut Coating 
200 grams of freshly grated coconut (椰丝) ( I did not do a proper measurement, only use around 1/2 cup or a bowl i guess )
Pinches of salt   (盐巴)
2-3 pandan leaves cut into smaller pieces (香兰叶)


Method:-
Heat the gula melaka or gula apong, white sugar and water in a microwave for about 1 minutes (until the sugar dissolved). Add the rice flour, tapioca flour and alkaline water, stir until well mix. Return the solution back to the microwave, heat for another 1-2 minutes.

In the interval of 0.5 minute, take out the bowl and stir. As long as the solutions starts to thicken, you can take out from the microwave and transfer to the greased cups. Note that depending on individual microwave oven, it can be rather fast. Keep an eye and as long as it is thicken (but can still be poured, it is consider done).

If you do not have a microwave oven, perform the same procedures over the stove. Note that  you must use medium to low heat to heat the sugar and rice flour solution. Constant stirring is required until it thickens. ( pour water into a sauce pan, add in gula melaka and white sugar stir till melted off fire, remove from stove and add in alkaline water and rice and tapioca flour with a whisk, whisk till combine, place on the stove again with a low fire to thicken the batter, stirring constantly until thick and off fire ) 

Once the partially cooked rice solution is ready, transfer it to the greased cups. Steam in a steamer for about 10 –15 minutes under medium to high heat. It is consider as cooked when colour changes and a tooth pick inserted comes out clean. Leave it to cool completely and use a toothpick to unmould the steamed cake. ( grease all small cups, * i dip a little cooking oil to the kitchen tissue and wipe the small cups, place on the steamer pan, pour the thick batter into a jar, and pour batter to a small cup at the stove steamer.  I steamed my kueh for 25 mins until toothpick come out clean and let it cool to use a toothpick to unmould the steamed kueh and coat with grated steamed coconut and continue with the rest of the batter until finish )

For the grated coconut, steamed the grated coconut in a steamer,pinches of salt and the pandan leaves. Steam in the steamer for about 10-15 minutes or until the pandan leaves are soft.

 This is Kapur Sirih / Alkaline Water, found at the Meat section. 


Sunday, September 21, 2014

Tahu Telur Singapore Style II

You can see earlier i have posted a recipe of  Tahu Telur Singapore Style which ran out of shape because without a moulding! For this recipe, we have got the moulding which specially made for this recipe.  We couldn't find the tahu telur moulding till now, but lucky we have a great idea and get someone to do the cutting for us..lol.

And of cause, with our dear friend Mr.Ridwan guide us step by step of cooking tahu telur, my husband managed to make a proper tahu telur...how wonderful!! ( we simply missing Pondok Sari Wangi Brunei delicious food )


Greentea Chiffon Cake

20.09.2014 - Nongsa, Batam.. Just after 2 days a Pandan Chiffon Cake and my hand is itchy to make another chiffon cake.  I guess success doesn't mean good.  the more i achieved the more i make, and the more i make, the more i eat!!  Ok, i will take it slow after this one...

This time im making a Greentea Chiffon Cake, was so interested to make this greentea flavour a long time ago! This recipe was adapted from christine's recipe - Greentea Chiffon Cake.  It was real good. i can say.  The texture was extremely airy, spongy so spongy....and soft as cotton.  That kind of cottony is definitely different from Pandan Chiffon Cake i made earlier.

This recipe definitely i can use for other flavours in the future! yeah... guess i will stick to this one basic chiffon ingredients..and i love it because it is not overly sweet, just perfect.


With small 22cm tube pan, i managed to make extra 3 cupcakes with the batter.


Ingredients
Batter:

80 gm cake flour
5 egg yolks
30 gm caster sugar
35 gm vegetable oil
1/2 tsp baking powder
1/8 tsp salt ( omit )
3 Tbsp green tea powder (Matcha powder), or to taste
120 ml hot water (or hot milk) ( i used water )

Egg whites:
6 egg whites
50 gm caster sugar
1/2 tsp cream of tartar

Method:
Preheat oven to 170C (338F).

Dissolve green tea powder in hot water (or hot milk). Let cool down.  Combine cake flour, baking powder and salt well. ( i combine all flour form, sieve flour, greentea powder and baking powder set aside and sieve one more time before mix to the egg yolks batter )

Mix green tea powder in hot water/hot milk well.

Whisk egg yolks, stir in 30 grams of caster sugar until completely dissolved. Add vegetable oil, green tea mixture, and sift in cake flour mixture in sequence. Make sure to combine and stir well between adding each ingredient. That’s the batter you need. Set aside.

Use an electric mixer to beat egg whites until bubbles form. Add cream of tartar. Blend thoroughly, then add one third of sugar at a time. Combine well between the adds, until stiff peaks form. (Please refer to this video, showing how to beat egg whites, on my youtube channel.) Here’s a simple test whether your egg whites are ready or not. The egg whites won’t slip or fall down even if you turn your bowl upside down.

Fold in 1/3 of egg whites into the batter. Gently incorporate all ingredients with a rubber spatula. Repeat this procedure with the rest of the egg whites. Don’t beat or stir too hard, just combine well.
Transfer mixture to cake mould. Bake in preheated oven for 35 to 40 minutes. Test the cake with a needle. If it comes out clean, it’s cooked. Remove from oven and invert the mould immediately. Let the cake cool completely. Use a knife to run around the edges of mould and take out the cake carefully. ( preheat at 190c, bake at 180c 50mins + 3 cupcakes at lower rack oven.  I invert cake upside down successfully this time.  Cake was so soft, airy and fluffy )

Add caster sugar in fresh whipping cream and beat with an electric mixer until soft peaks form. You might like to sit the bowl on some ice cubes to beat whipping cream in warm weather. I skipped this step when the weather is cold. Most importantly, chill the mixer and bowl in fridge before beating, that would help you to get better results. Chill the beaten cream in fridge for 30 minutes.
Cut the cake into halves and spread cream evenly as picture shown. Done.


Pandan Chiffon Cake & Cupcakes

18.09.2014 - Nongsa, Batam   I thought i wont be baking any chiffon cake for a longtime, but here i am doing it again, feels like ages didn't bake a good pandan chiffon cake and im like dying for one and searching for good pandan chiffon recipe to try out.

Searching high and low for a simple recipe and finally i was attracted to this Pandan Chiffon Cake  from Aunty Yochana's Cake Delight blog.  She has so many wonderful recipes on her blog, please do feel free to check her out!!

I have no regrets to pick her Pandan Chiffon Cake recipe because it turn out so perfectly good!! im so lucky to get the right recipe to bake for precious time of preparation and ingredients used...however, i did some adjustment on the sugar amount used, i only used 130g of sugar in total instead of 180g.  im so glad i did the reduction of the sugar amount, with 130g sugar, the cake has a perfect sweetness, not overly sweet.  It could be too sweet for me if i use 180g.

Anyway, back to the result, my cake was turn out so perfectly good, the height was perfect and texture was soft, spongy, airy but the only thing is that i can't invert my cake after bake.  As im trying to invert it upside down, the cake was eventually dropped out from the pan...lol..so i quickly safe the cake from the table and move it to the wire rack.  lucky the cake still stay light and height wasn't affected with the cooling method i used like normal cake.  By the way, i have this not a regular chiffon pan but has a tall and deep, but mine is very short and i managed to get another 4 cupcakes size chiffon.


Ingredients 
for egg yolk mixture:

6 egg yolks
2 Tbsp. Pandan juice
150 gm/ml coconut milk
1/4 tsp. salt ( omit )
4 tbsp. Corn oil
1 tsp. Pandan Paste
1/4 tsp. Green colouring ( omit )
80 gm. caster sugar ( total sugar used in this recipe only 130g for both whites n yolk, if u like sweeter, you may stick to the original recipe that calls for 180g in total )
140 gm. Cake flour
added 1tsp baking powder

Egg White Mixture:
6 egg white
1/4 tsp. Cream of Tartar
100 gm. caster sugar ( i separate half sugar from a total of 130g for whites )

Method:
(1) Mix all the egg yolk ingredients together and stir till smooth.  ( i beat egg white first keep in the fridge, beat egg yolks & sugar till ribbon stage, add in oil with a whisk and follow by coconut milk with a whisk and pandan juice, green pandan paste whisk for a second till combined and add in flour 3 batches with a whisk till combined. )

(2) Whisk egg white with cream of tartar and gradually pour in the sugar. Whisk at high speed until frothy and stiff peak forms.

(3) Gently fold egg yolk mixture with egg white mixture until blended. ( fold in egg white with a whisk 1st and 2nd batch and last with a spatula to mix well )

(4) Pour into a 9" (23 cm) tube pan. Bake at 170C for about 40 to 45 min.s or until cooked.  I used 22cm tube pan, Preheat at 190c and bake at 180c for 55mins +  extra 4 cupcakes, bake at lower rack.  Another 12 mins before finish, i lower down temperature to 170c b cos the cake rise high with just 2 very small cracks.  ( adjust your own oven to the right temperature ). 

(5) Remove from oven, invert cake onto cooling rack until completely cooled before removing from the pan.  No need to invert upside down, the cake would drop, so just cool it on the rack.  the cake is very delicious soft and not too much shrinkage.  perfect and sorry to say it is better than Kitchen tigeress recipe. i will use this for future pandan cake or cupcake. 

(6) Slice and serve.


Chocolate Cupcakes with Swiss Meringue Buttercream

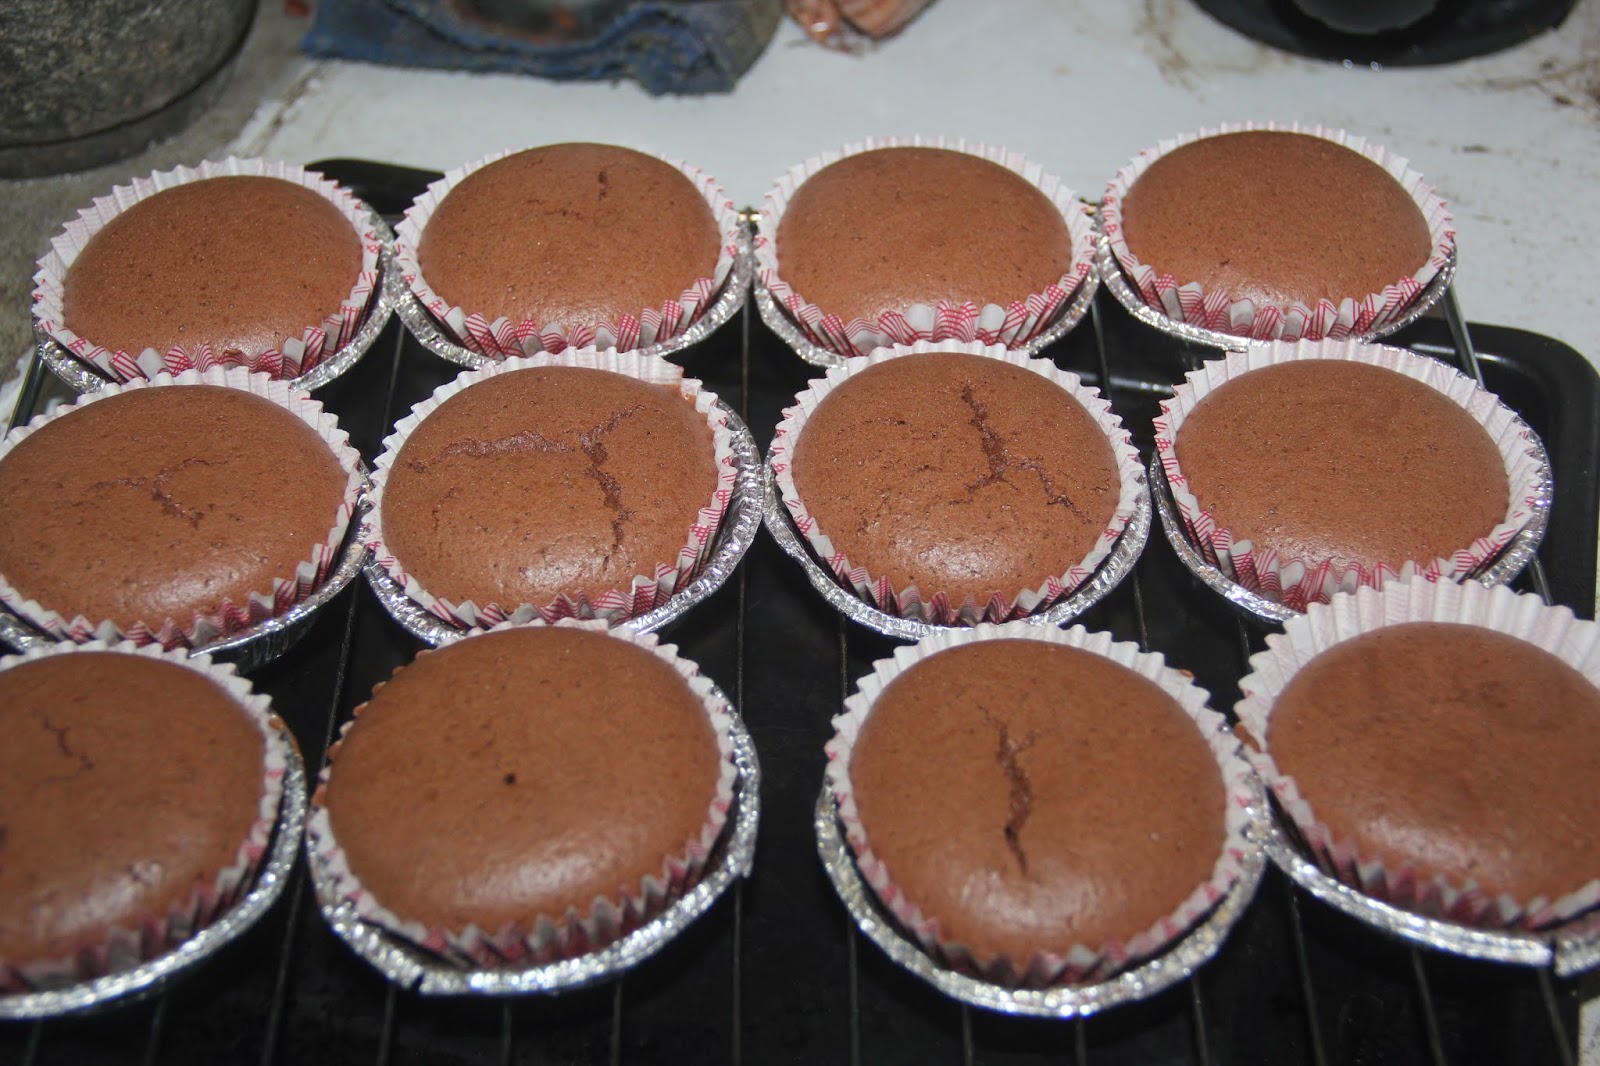
11.09.2014 - Nongsa, Batam.. Have left over swiss meringue buttercream, thought of using it up for some cupcakes, so here i am making cupcakes but can't find to trust any good and spongy chocolate cupcakes and so i ended up using my chocolate cake recipe for this cupcakes and the amount of batter just right for 12 cupcakes, bake for 45mins with only 3 cracks cupcakes.....Perfect!! :P

It was incredibly successful, the cake turn out just perfect!! So spongy, light and soft.  Just the right texture for a good cupcake, not too airy and not too dense...  gosh!! Im so happy and in love with this recipe.


Sunday, September 7, 2014

Basic Crispy Fried Banana or Pisang Goreng

05.09.2014 - Nongsa, Batam.  Whether in Malaysia, Brunei or Indonesia, Pisang Goreng or Fried Banana Fritters has been my all time favourite during breakfast, afternoon break or as snack during anytime of the day.

i still not afraid of consuming fried banana at the street hawkers or wherever it is available during the busy market hours early evening that specially freshly dish up from the hot oil while its still crispy and crunchy! its irresistible. but however, im being very careful now. Because these delicious pisang goreng has no longer safe to eat from street vendors / hawkers.

Few years ago or i can say up to these days i am still hearing many dishonest vendors using drinking straws or plastic oil bottles added into the hot cooking oil to deepfried the bananas in order to keep their pisang goreng stay crispy.

So to eat safe and healthy, the only way is to reduce consuming at the hawkers and cook ourself.  But how you want your fried banana stays crispy and crunchy? its simply easy!! let me tell u, u do not need to mix the batter with rice flour, or add plastic to the cooking oil ( like those uneducated psycho vendors ) who feed us plastic.  Now there is a thing call "baking soda".  I know its chemical too, but this is edible chemical that meant for cooking.  The crispiness secret is all in the baking soda my friends!!

Since i love to eat pisang goreng, i always cook fried banana at home, and the more practise i get the better my batter mixing to get the right crispiness for my bananas.  Finally I have created my recipe to the right texture and crispiness!! Not saying to blow my own trumpet but i think my pisang goreng is the BEST on earth with that crispiness without using any ready-made mix flour or added any weird stuff in it to get that crispiness.

I do care about your health out there, so i don't mind to share my recipe to you all and i hope u love it! So eat safe and healthy, I can do it myself and so do you.

( i don't measure my ingredients for batter, but these are the ingredients i used and approximate measurement )

Ingredients
1 cup plain flour
water ( until u get a thick batter but not too watery consistency )
a pinch of salt
1tbsp sugar
3 dash / pinch of baking soda
4 big bananas (sliced thinly or your own liking )
Enough oil to deep-fry the bananas
confectioner sugar, cheese, chocolate rice, condense milk or brown sugar ( optional for garnishing )

Instructions
Mix the flour, salt, sugar, baking soda and with a whisk, add water one at a time, so you can get the right consistency until no lumps. dip in cut bananas into batter to coat,

Heat the oil until deepfried bananas until golden brown and drain with kitchen towel.

Serve with just plain confectioner sugar or shredded cheddar cheese, sprinkle of chocolate rice or simply mix fried banana with condense milk and brown sugar or with a scoop of vanilla ice cream beside.

Basic Vanilla Cupcakes with Swiss Meringue Buttercream

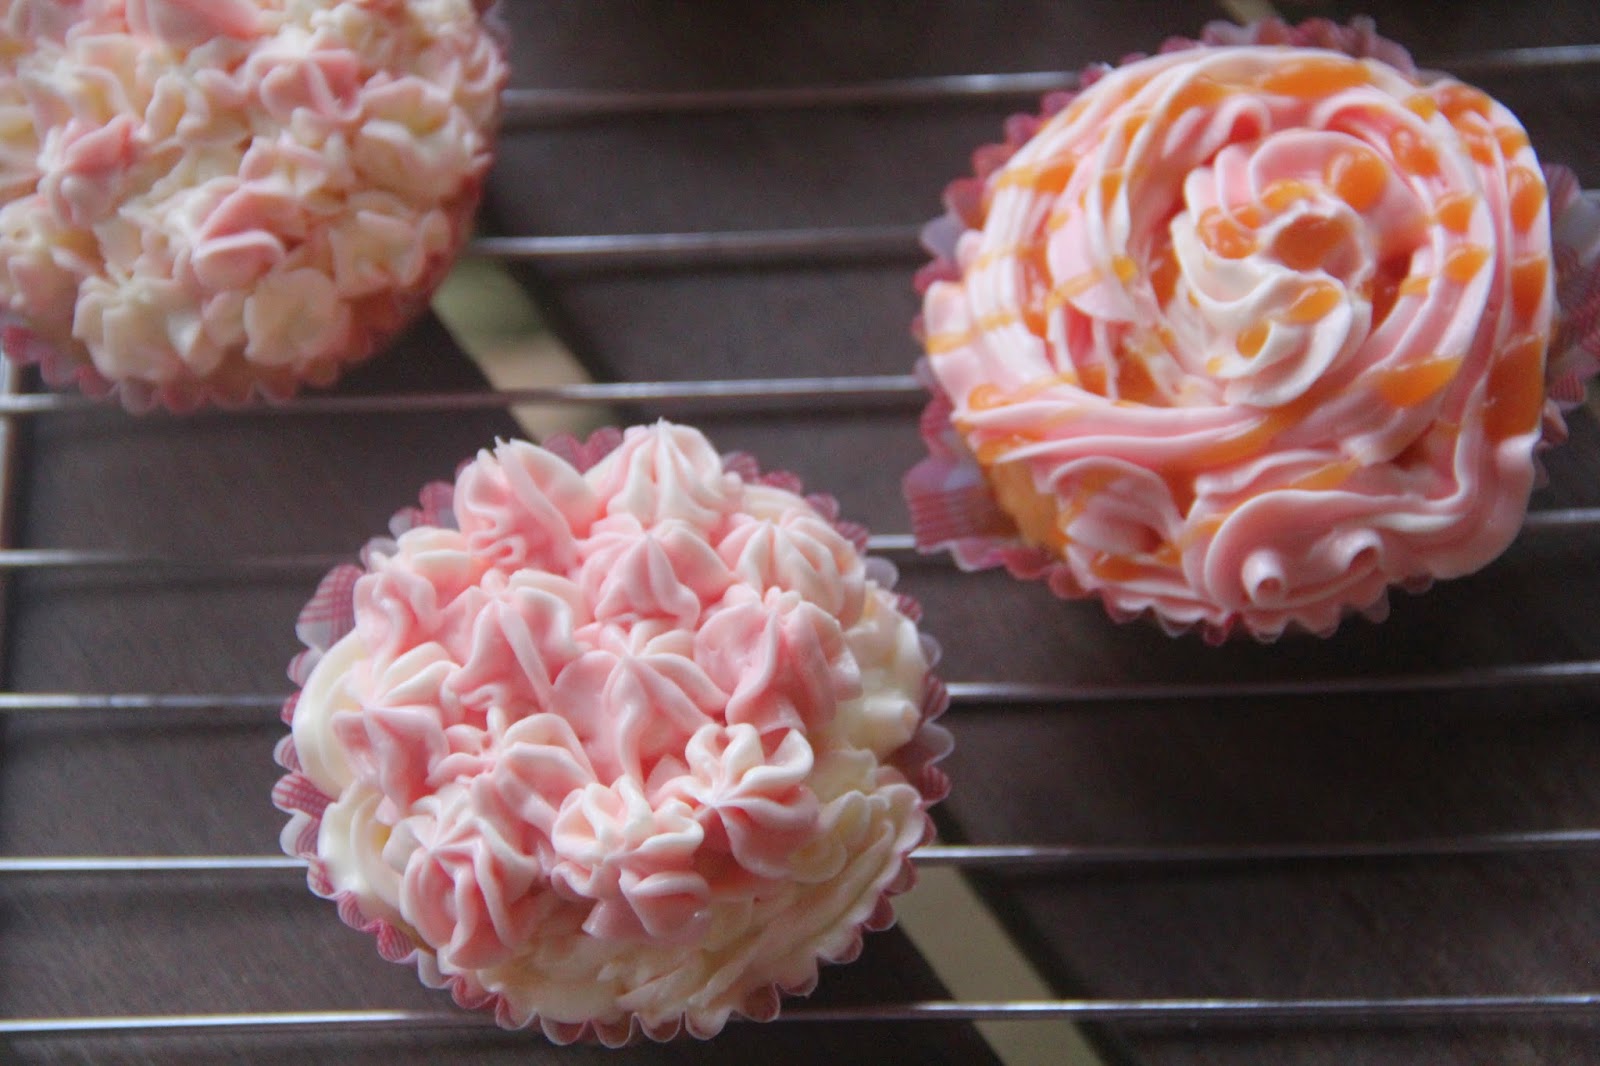
26.08.2014 - Nongsa, Batam.  This is a great and simple basic vanilla cupcake recipe, recipe was adapted from mysingaporekitchen - basic vanilla cupcakes - 1 .  I have been searching for a very basic and simple vanilla cupcake recipe and i gave this recipe a try.  The recipe yields 12 cupcakes but i only did 7 cupcakes.  Perhaps my cupcakes paper cups too big?!

If you are looking for a light and soft cupcakes recipe, this is not the one for you.  This cupcakes texture is moist and heavy almost going to muffin type of texture and not much crumbs.  I personally like it! This cupcake is perfect for buttercream frosting as it can hold the frosting weight steadily, the cupcake also taste real good.

Overall it was a great experienced and love making this again.  Glad to found this recipe for testing.  To find out more great baking recipes, you can log on to mysingaporekitchen, she has it all.


BASIC VANILLA CUPCAKES
12 cupcakes

Ingredients:-
Plain flour- 1 cup
Butter- 100 grams (at room temperature )
Eggs-2
Sugar- 1 cup ( I reduced sugar to 1/2 cup ) taste of cooked cupcakes just perfected for me
Vanilla essence- 1 tsp
Baking powder- 1/2 tsp
Salt- 1/2 tsp(optional- to be used if using unsalted butter) didn't add salt
Jumbo Raisins- 12 (Original recipe does not call for it) didn't add raisin
added 1tbsp fresh milk


Method:
Powder the sugar.  Beat the butter and sugar until light and fluffy.  Add in eggs one at a time.

Add in the sifted flour, baking powder and salt in two additions. beat with a mixer and finally mix well with a spatula

Add in the vanilla and pour into paper cups. Top with a raisin ( optional I didn't add any ).

Bake in a preheated oven at 180 degree C for 15-20mins.  ( I preheat oven at 180c, bake at 25 minutes. )


Swiss Meringue Buttercream

26.08.2014 -  Nongsa Batam.  Very interested to get my hands on trying to make Swiss Meringue Buttercream for cupcakes.   I found this Swiss Meringue Buttercream recipe makes about 2 cups or enough for 12 to 15 cupcakes, but in fact, i think the amount can make more than 15 cupcakes, it is enough for 30 cupcakes.   This recipe required 3/4 cup of sugar, but i find that i was too sweet, i will reduce to 1/2 cup next time. but if u love sweet, you can stick to the recipe amount.

To my experience, making swiss meringue buttercream is not hard at all, there is no need to panic or nervous when making this even you're a first timer like me. Nothing is complicated about this recipe.

Overall, i love the texture of my buttercream, thick, smooth and shinny! So lovely!! so happy with the result.  and now i don't need to worry giving some of my cake a real butter frosting without hesitating to eat them and always wondering how am i going to eat those fat and sweet frosting from using real thick butter and confectioner's sugar.

I used half of the buttercream to pipe on my cupcakes and another half i refrigerate for future used.


INGREDIENTS
3 large egg whites
¾ cup granulated sugar
1/16 teaspoon salt
1 cup (2 sticks) unsalted butter, room temperature ( 2sticks = 226g )
½ teaspoon pure vanilla extract
Food Coloring (optional)

METHOD
In a large bowl of an electric stand mixer combine egg whites, sugar, and salt; place the bowl over a pan of simmering water. Using a wire whisk, whisk constantly by hand until the mixture is hot, about 3 to 5 minutes. Tip: the mixture should reach about 130 degrees on an instant read thermometer, or feel completely smooth when rubbed between your fingertips. Remove from heat.

Attach the bowl to the electric stand mixer fitted with the whisk attachment. Whisk on medium high speed for 5 to 7 minutes or until the mixture forms a thick fluffy meringue and is cool. Tip: Touch the meringue and make sure it has cooled to room temperature. Also the outside of the bowl should feel cool to the touch.

Stop the mixer, remove the whisk and attach the paddle. With the mixer on medium speed add the butter, about 2 tablespoons at a time and mixing 20 to 30 seconds after each addition. While adding the butter, stop the mixer occasionally to scrape the mixture off the paddle and scrape down the sides and bottom of the bowl with a rubber spatula so the mixture blends evenly. Add the vanilla and continue beating until the Buttercream is thick and smooth, about another 2 to 3 minutes.

Optional: add food coloring, a drop at a time and blend with the mixer. Add additional food coloring if necessary to reach the desired shade.

Buttercream should be used immediately, or refrigerate or freeze until needed.


Quick & Easy Bibimbap in a Bowl ( Korean Mix Rice )

This for sure is everyone's favourite dish! Bibimbap simply has everything you need in one bowl, eating 'em is easy too by mixing ...